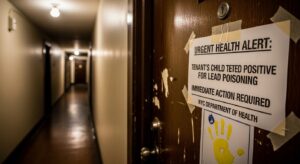
If you’ve recently discovered lead dust in your home, or if you’re renovating a building built before 1978, you might be wondering: what’s the best way to remove lead dust safely?
Lead is a toxic substance that can cause serious health risks, especially for young children and pregnant women. This is why lead dust remediation is essential for protecting your home and loved ones.
But how does it work? Is it a long, complicated process? What exactly is involved?
If you’ve found yourself asking these questions, you’re not alone. In this blog, we’ll walk you through the step-by-step process so you’ll know exactly what to expect.
Why Lead Dust Remediation Is Essential
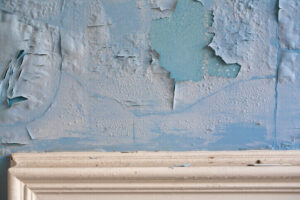
Lead dust is one of the most dangerous forms of lead exposure because it can be easily inhaled or ingested, especially in homes where children or pregnant women live.
Lead dust can settle on surfaces, get kicked up into the air, or even enter the heating and ventilation systems. Since it’s invisible to the naked eye, it can often go unnoticed, making it an even bigger threat.
Lead remediation is crucial because the only way to protect your family from lead poisoning is to remove the lead dust safely and effectively.
Step 1: Inspection and Risk Assessment
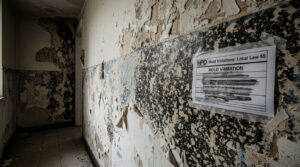
The first step in any lead dust remediation process is to have a professional inspect your property. A certified lead inspector will conduct a risk assessment to determine the extent of lead contamination.
During this phase, the technician will:
- Inspect the home for signs of lead-based paint or lead dust, typically in homes built before 1978.
- Test the surfaces and air for lead content.
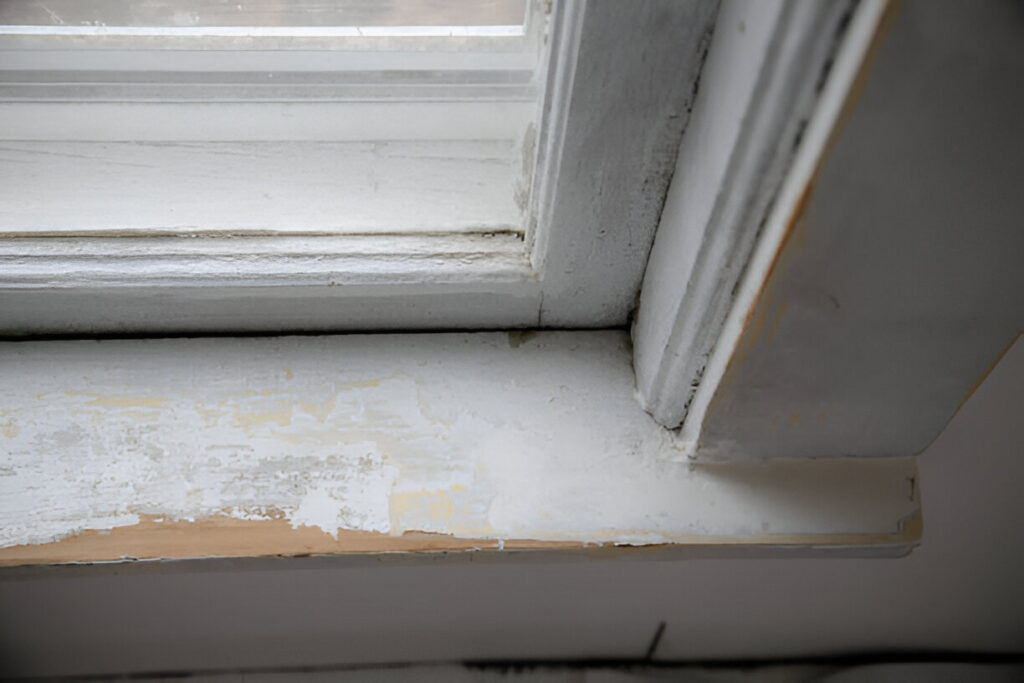
- Identify problem areas, for example, windowsills, baseboards, and hard-to-reach places where lead dust is most likely to accumulate.
Once this inspection is complete, you’ll have a clear understanding of the severity of the issue and how best to proceed with remediation.
Step 2: Preparation and Containment
Once the inspection is complete, the remediation team will prepare the area to safely remove the lead dust. This stage is critical, as it ensures that the lead dust doesn’t spread throughout the rest of the home during the cleanup process.
Here’s what happens during preparation:
- Seal off affected areas: The team will contain the contaminated areas by setting up plastic barriers, ensuring that no lead dust escapes into other parts of the house.
- Ventilate the space: In some cases, negative air machines will be used to create a pressure difference to pull air into the contaminated space, ensuring that any lead particles stay contained within the area being worked on.
- Safety gear: All workers will wear personal protective equipment (PPE), including respirators, gloves, and protective clothing, to avoid exposure to lead dust during the process.
Proper containment makes sure that lead dust is not spread to other parts of your home and that it remains safely confined.
Step 3: Removal of Lead Dust
With the area contained and safety precautions in place, the actual lead dust removal process can begin. This is when the remediation team uses specialized cleaning techniques and equipment to thoroughly remove lead dust from all surfaces.
Here’s what you can expect:
- Wet cleaning methods: Instead of using dry dusting or sweeping (which could spread lead particles), professionals use wet cleaning techniques, such as wet mopping and scrubbing with water and detergents.
- Chemical treatments: In some cases, lead-specific cleaning agents are used to help remove stubborn lead dust from surfaces.
- Use of HEPA vacuums: High-efficiency particulate air (HEPA) vacuums are used to suck up dust and particles from floors, walls, and other surfaces to ensure no lead particles are left behind.
This step is all about thoroughness! Professionals will make sure every inch of the affected area is cleaned to eliminate all traces of lead dust.
Step 4: Final Clearance Testing
Once the cleaning is complete, the remediation team will perform final clearance testing. This is to ensure that all lead dust has been removed and that your home is safe for occupancy.
The clearance testing process includes:
- Dust wipe sampling: The technician will wipe surfaces in the cleaned area and send them for laboratory testing to ensure lead levels are below acceptable limits.
- Air sampling: Air samples will also be taken to measure whether lead dust has been fully removed from the air.
If the lead levels pass the clearance tests, the remediation is considered complete, and your home is now safe from lead exposure.
Step 5: Restoration and Follow-Up
In some cases, remediation may cause damage to the surfaces, such as wall paint, drywall, or flooring. After the cleanup, restoration may be necessary.
This could involve:
- Repainting or repairing walls that were damaged during the cleaning.
- Sealing or replacing damaged fixtures to restore the space to its original state.
You may also want to have a follow-up inspection done after a few months or years.
Also Read: How Long Does a Lead Inspection Take?
Need Lead Dust Remediation in NYC? Call Manhattan Lead!
If you’ve discovered lead dust in your home, it’s important to act quickly!
Manhattan Lead offers expert lead dust remediation services in NYC, so your home is safe and free from the dangers of lead exposure.
Call us today for a consultation and get your home safe and clean again!