A failed lead paint inspection can be a little nerve-wracking, especially if you didn’t realize there was a problem in the first place. Lead-based paint, which was common in homes built before 1978, can be seriously harmful—especially to young children and pregnant women. When a lead paint inspection fails, it usually means lead paint is present, often showing up as peeling, chipping, or lead dust. If you don’t address it, there can be major health risks. So, even though painting over it might seem like an easy fix, there’s more to it than that.
In this blog, we’ll walk you through the essential steps you need to take before repainting a failed lead inspection area.
Paint Over Failed Lead Inspection:
1. Check Local Lead Paint Rules
Before you start, it’s crucial to understand the lead paint regulations in your area. Different states and cities have specific rules on how to handle lead hazards, and in some places, you may need a professional to handle it.
Make sure you check with your local health department or environmental agency. Some areas require permits, so knowing the rules ahead of time can help you avoid unnecessary fines and make sure you’re tackling the problem properly.
2. Encapsulation or Removal: What’s Best?
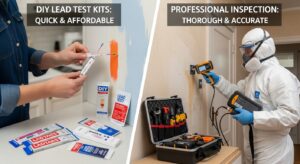
You’ve got two main options for dealing with lead paint: encapsulation or removal. Encapsulation means sealing the lead paint with a special coating, which locks it in place and prevents exposure. It’s cheaper and works well if the paint is still mostly intact and not wearing down.
Removal, on the other hand, involves taking the lead paint off completely. It’s more involved and requires careful handling to avoid spreading lead dust around your home. If you’re going this route, it’s usually safest to call in a pro.
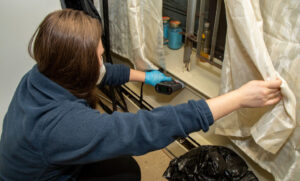
3. Take Safety Seriously
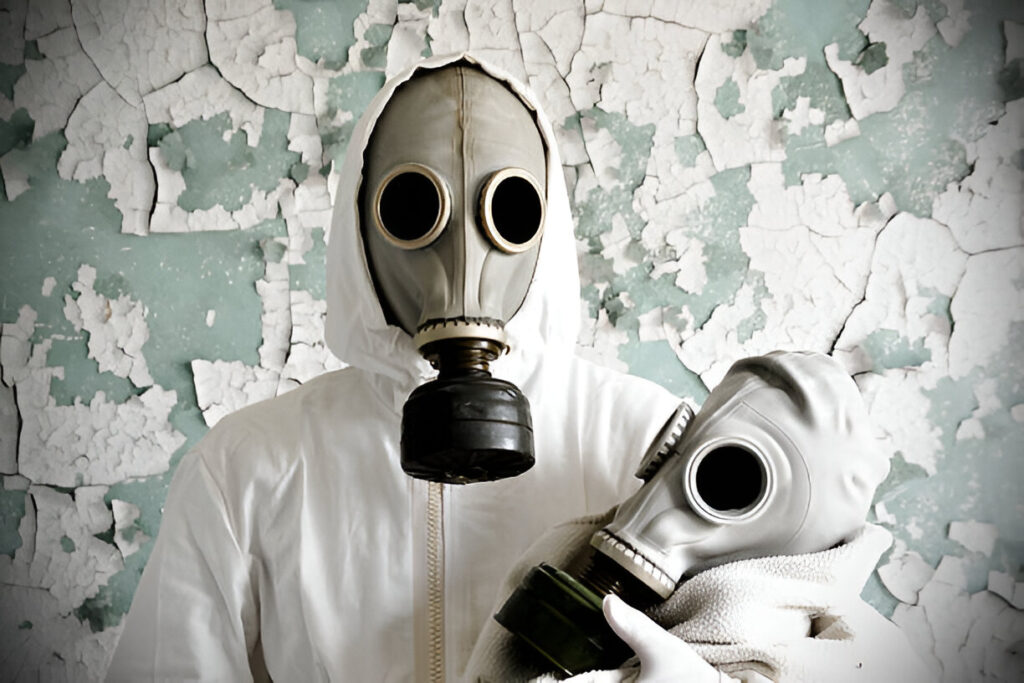
If you decide to handle things yourself, safety is key. Lead dust is no joke, so you’ll need to wear the right gear—think an N100 or HEPA-filter respirator, gloves, and goggles.
You should also seal off the area with plastic sheeting to keep lead dust from spreading. Avoid sanding or scraping the paint dry, as that releases harmful particles. Wet sanding or using a chemical stripper made for lead paint is a safer bet. After the work is done, clean up carefully with a HEPA vacuum and damp cloths to get rid of any remaining dust.
4. Choose the Right Paint
If you’re opting for encapsulation, picking the right paint is super important. You’ll want a lead-encapsulating paint that’s specifically made to create a solid barrier over the lead paint. Regular paint won’t cut it—it can crack over time, leaving the lead paint exposed.
Make sure to choose a paint that’s EPA-approved for lead encapsulation, and follow the instructions carefully to make sure it lasts.
5. Consider Hiring the Professionals
If the lead hazard is extensive or you just don’t feel comfortable handling it yourself, it’s worth hiring a certified lead abatement professional. These experts know how to safely remove or encapsulate lead paint and have the right tools to do the job properly.
Check the EPA’s Lead-Safe Certified Firms database, or ask for credentials and references to make sure the contractor is qualified. A professional will ensure the work is done right, keeping you and your family safe.
Also Read: What is NYC Local Law 31?
Need Help With Lead Paint Inspection?
If you’re facing a failed lead paint inspection, it can be tricky to navigate all the rules and ensure everything is done safely. At Manhattan Lead, we specialize in lead inspection and abatement, making sure your home is both safe and up to code with the latest regulations. Our certified experts use the most effective methods to remove or contain lead hazards.
Don’t take chances with your health—contact us today for a thorough assessment and make sure your home is safe.