From moving into a new home to finally opening your dream café, stepping into a new property comes with a mix of excitement and doubt. Whether hearing about the Flint lead crisis has gotten you anxious or your neighbors and friends have warned you to stay cautious, you might hesitate before drinking that clear, refreshing glass of water from a new place.
Typically, when we think about lead exposure, we often associate it with paint, dust, soil, and food, but drinking water can also be a potential source. Taking a sip of water that looks, smells, and tastes fine might seem safe, but it might just be a silent problem.
So, how do you take control of this situation? In this guide, we’ll show you exactly how to do lead water testing efficiently, accurately, and without guesswork to ensure that the water you and your loved ones drink is truly safe.
Read this blog to learn more about lead water testing.
Foolproof Lead Water Testing Method
Unfortunately, lead effects, especially on children and vulnerable individuals, can be life-threatening. Lead exposure doesn’t just impact behavior; it affects brain development, overall health, and even IQ, focus, and academic achievement. Worst of all, many people don’t think about it until it’s too late. So, before you become a part of that lot, here’s how to do lead water testing:
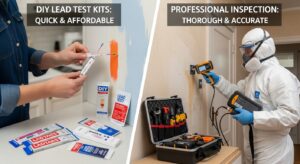
Step 1: Get the Right Testing Kit
First, simply get a test kit. Your local water supplier might offer free testing, so always start there. If that’s not an option, you can buy a lead water testing kit from a home improvement store. However, for the most accurate results, contact a state-certified laboratory.
Request for a sample bottle specifically designed for lead water testing. Let them know exactly what you’re testing for so they send the right materials. Lead sampling guidelines can vary, and testing protocols are constantly evolving, so always follow the lab’s specific instructions.
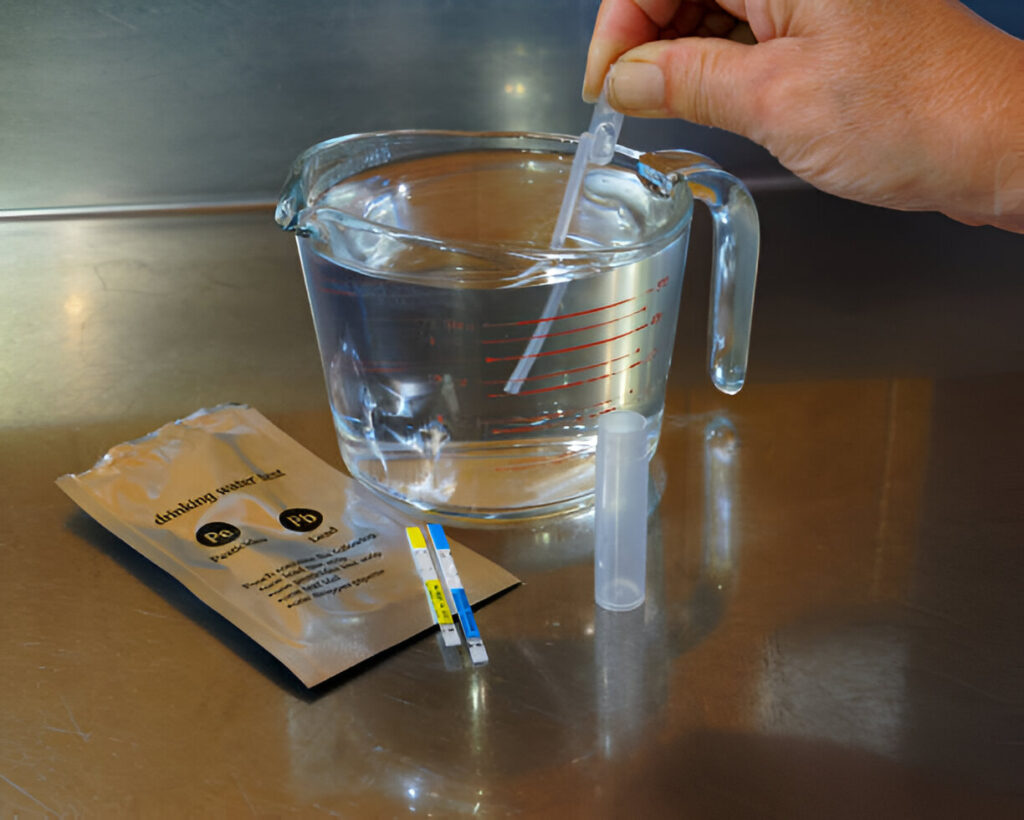
Step 2: Collect the First-Draw Water Sample
Next, be precise. You can’t just turn on the tap and fill the bottle. Lead water testing requires a “first-draw water sample”. What does that mean? It means using the very first water that comes out of your faucet. It is recommended to let the water sit in the pipes for at least six hours.
This could be overnight or while you’re at work. But why, you must be thinking? This is crucial because lead leaches from pipes and plumbing materials over time, so this water will show the highest potential contamination.
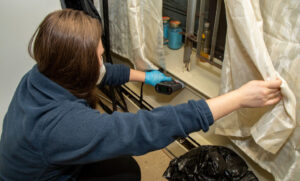
Step 3: Choose the Right Faucet
Not all taps are created equal. You’ll want to do the lead water testing at the faucet you use most often for drinking water, like your kitchen or bathroom sink. Different fixtures can have different lead levels, especially if they’re older.
Make sure to collect the sample from a cold water tap, if your faucet has a single handle, turn it to the cold side. Hot water can increase lead leaching, which can give you misleading results.
Step 4: Sending Samples and Understanding Results
With clean hands and a clean sample bottle, carefully place the bottle under the faucet and let the water flow directly into it. Seal the cap tightly, complete any required paperwork from the lab, and send your sample following their shipping instructions.
Once your results for the lead water testing come back, you’ll want to check them against official safety standards. The U.S. Environmental Protection Agency (EPA) has set the action level for lead in public water supplies at 0.015 milligrams per liter (mg/L), or 15 parts per billion (ppb). If your water exceeds this level, it’s time to take action.
Also Read: Can I Paint Over a Failed Lead Inspection Area?
Why Fixing the Source Matters
In older homes, the underground pipes connecting your home to the main water line pipes are the biggest contributor to lead contamination. Lead can also come from plumbing materials, faucets, and even corrosion inside your household pipes, especially if your water is acidic or low in minerals. So, the goal isn’t just to minimize exposure; it is to eliminate it.
Following some preventive tips can be a temporary solution, but the most effective solution is fixing the source. Replacing lead service lines, old plumbing, and outdated faucets can significantly lower contamination. If replacing pipes isn’t an option right away, use a certified water filter at all points where you drink or cook with water. Plus, remember that boiling water won’t remove lead, rather it actually makes it more concentrated.
Keep Your Space Safe with Manhattan Lead
Act before it’s too late. Lead accumulates in the body over time, so symptoms of harm might not be immediate, but once they show, the damage could already be done. So, slight ignorance can sometimes lead to major health problems in the future for you and your loved ones.
Keep them safe by getting in touch with the experts — Manhattan Lead. With years of experience in the city, we assist you in building a lead-free and healthy future. Our team of experts offers prompt site inspections, lead water testing, and lead removal services.
Call us today.